Out of the 100+ digital forms available in the Handbook, some will ask you to upload an image or a file — for example, a photo or a certificate.
Uploading a file or image works in much the same way as adding a photo on apps like Facebook, Instagram or WhatsApp.
It’s usually quick and straightforward, and the short guide below will walk you through the process step by step.
The example shown has been created using an Android phone. If you’re using an iPhone, what you see on screen may look slightly different, but the steps will be broadly the same.
Depending on the form you’re completing, it will be available in one of two places: Onboarding or All Forms.
Onboarding If the form is part of the onboarding process, it will appear as one of the step-by-step screens you are guided through.
All Forms If the form is not part of onboarding, go to the Home screen and select All Forms. This will take you to the All Forms page, where you can find and open the form you need.
For this example, we’ll use a form from within Onboarding, as these are usually the first forms you’ll complete when you start using the Handbook.
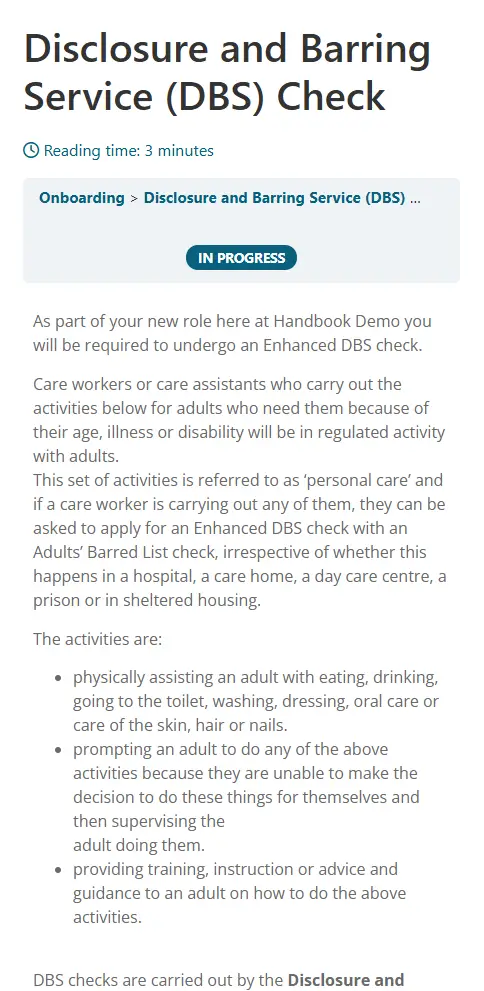
We’ll look specifically at the DBS Check form.
Once you open the form, you’ll notice that some personal details are already filled in for you.
This is because the system recognises who you are based on your login and profile information. As a result, completing forms is quicker and easier, with less information for you to enter manually.
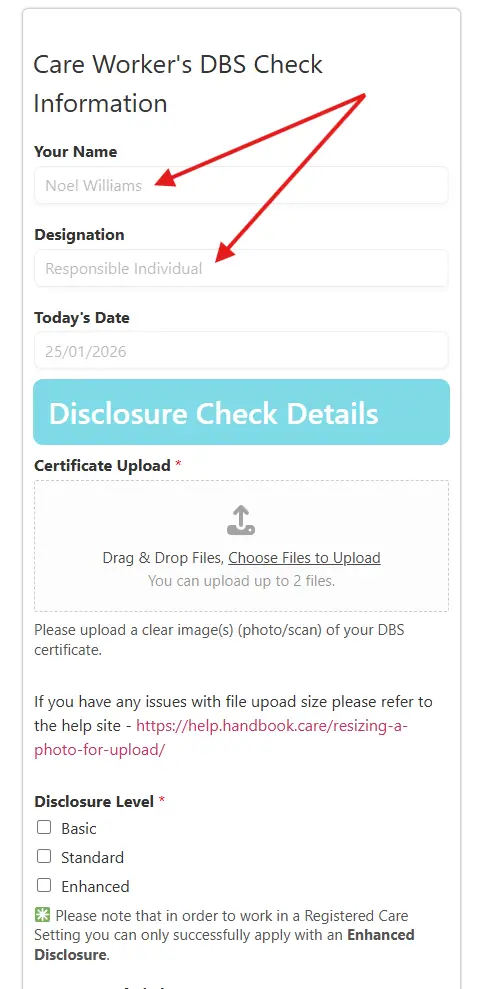
Now to the main part — uploading a file or image.
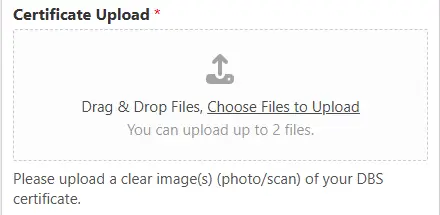
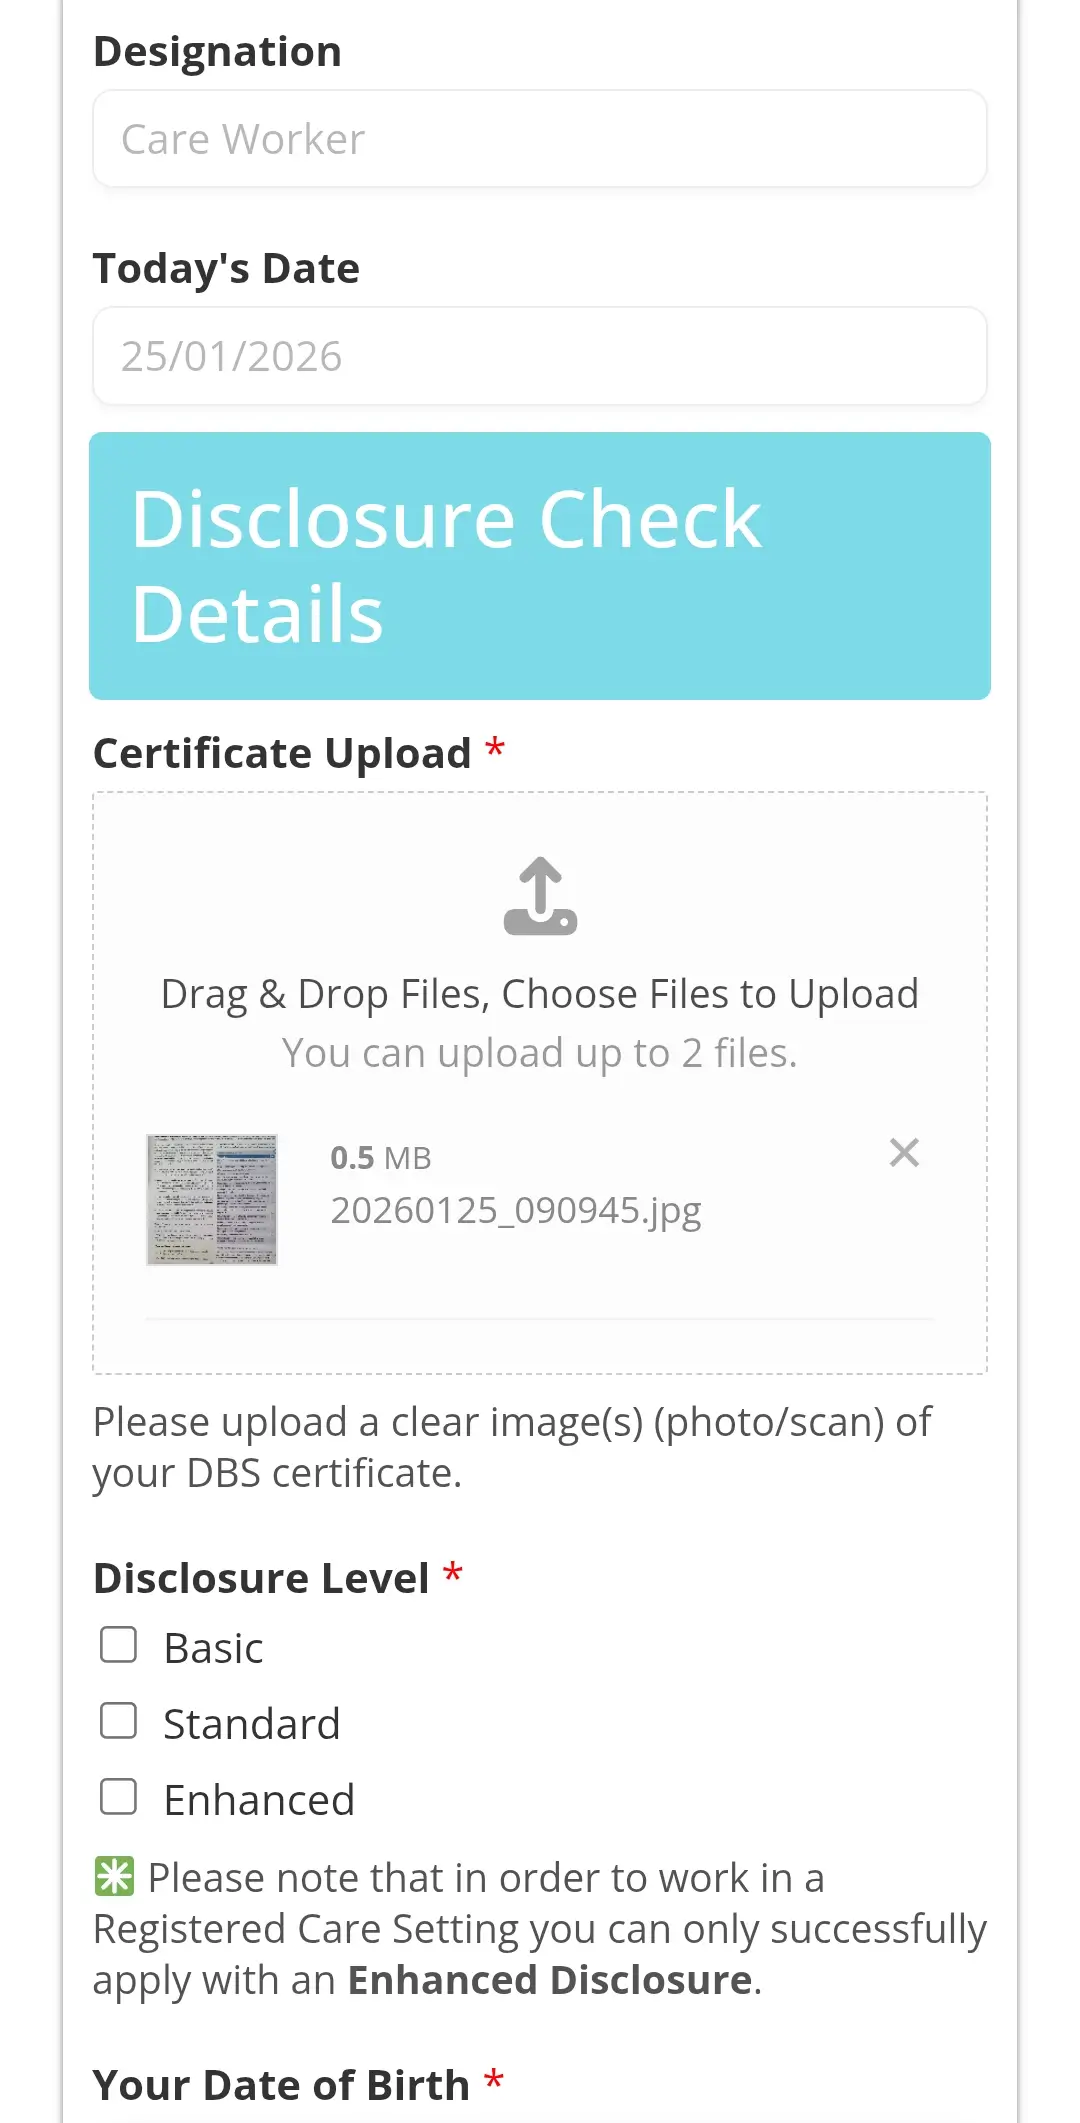
In this example, the field is labelled Certificate Upload, but in other forms it may be called something slightly different. Regardless of the label, the upload field will always look the same and work in the same way.
Select the upload link (the text is usually underlined to show it’s a link).
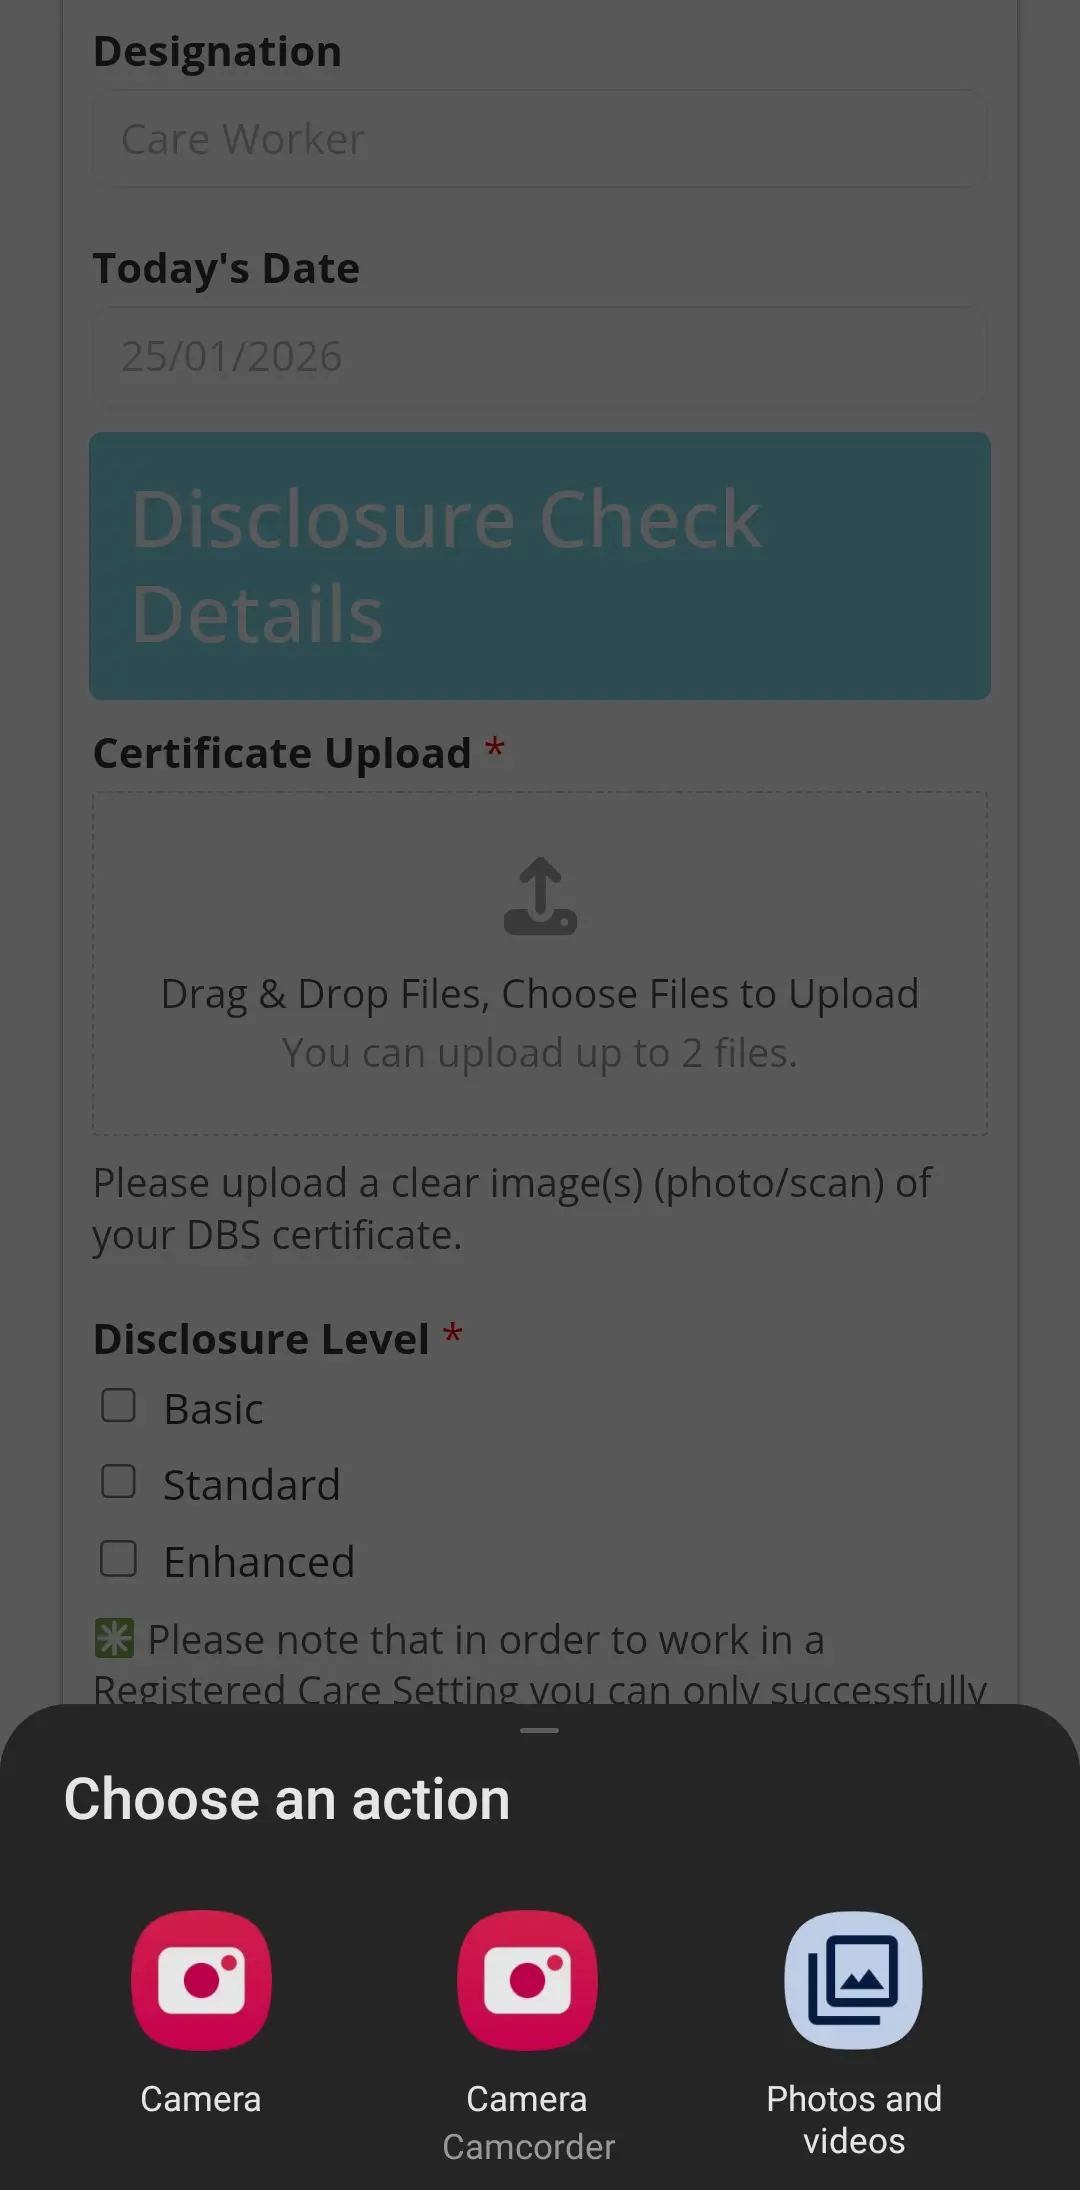
Depending on the device you’re using, you’ll see a list of options for how you want to upload your file.
On an Android device, for example, you may be given options such as:
Camera
Video recorder
Photos and videos – this is where your saved images and files are stored
What you do next depends on whether the file is already saved on your device or whether you need to take a photo of a document.
If the file or image is already saved on your device, select Photos and videos to choose it from your saved files.
If you need to take a photo of a document (for example, a DBS certificate), select Camera and take the photo when prompted.
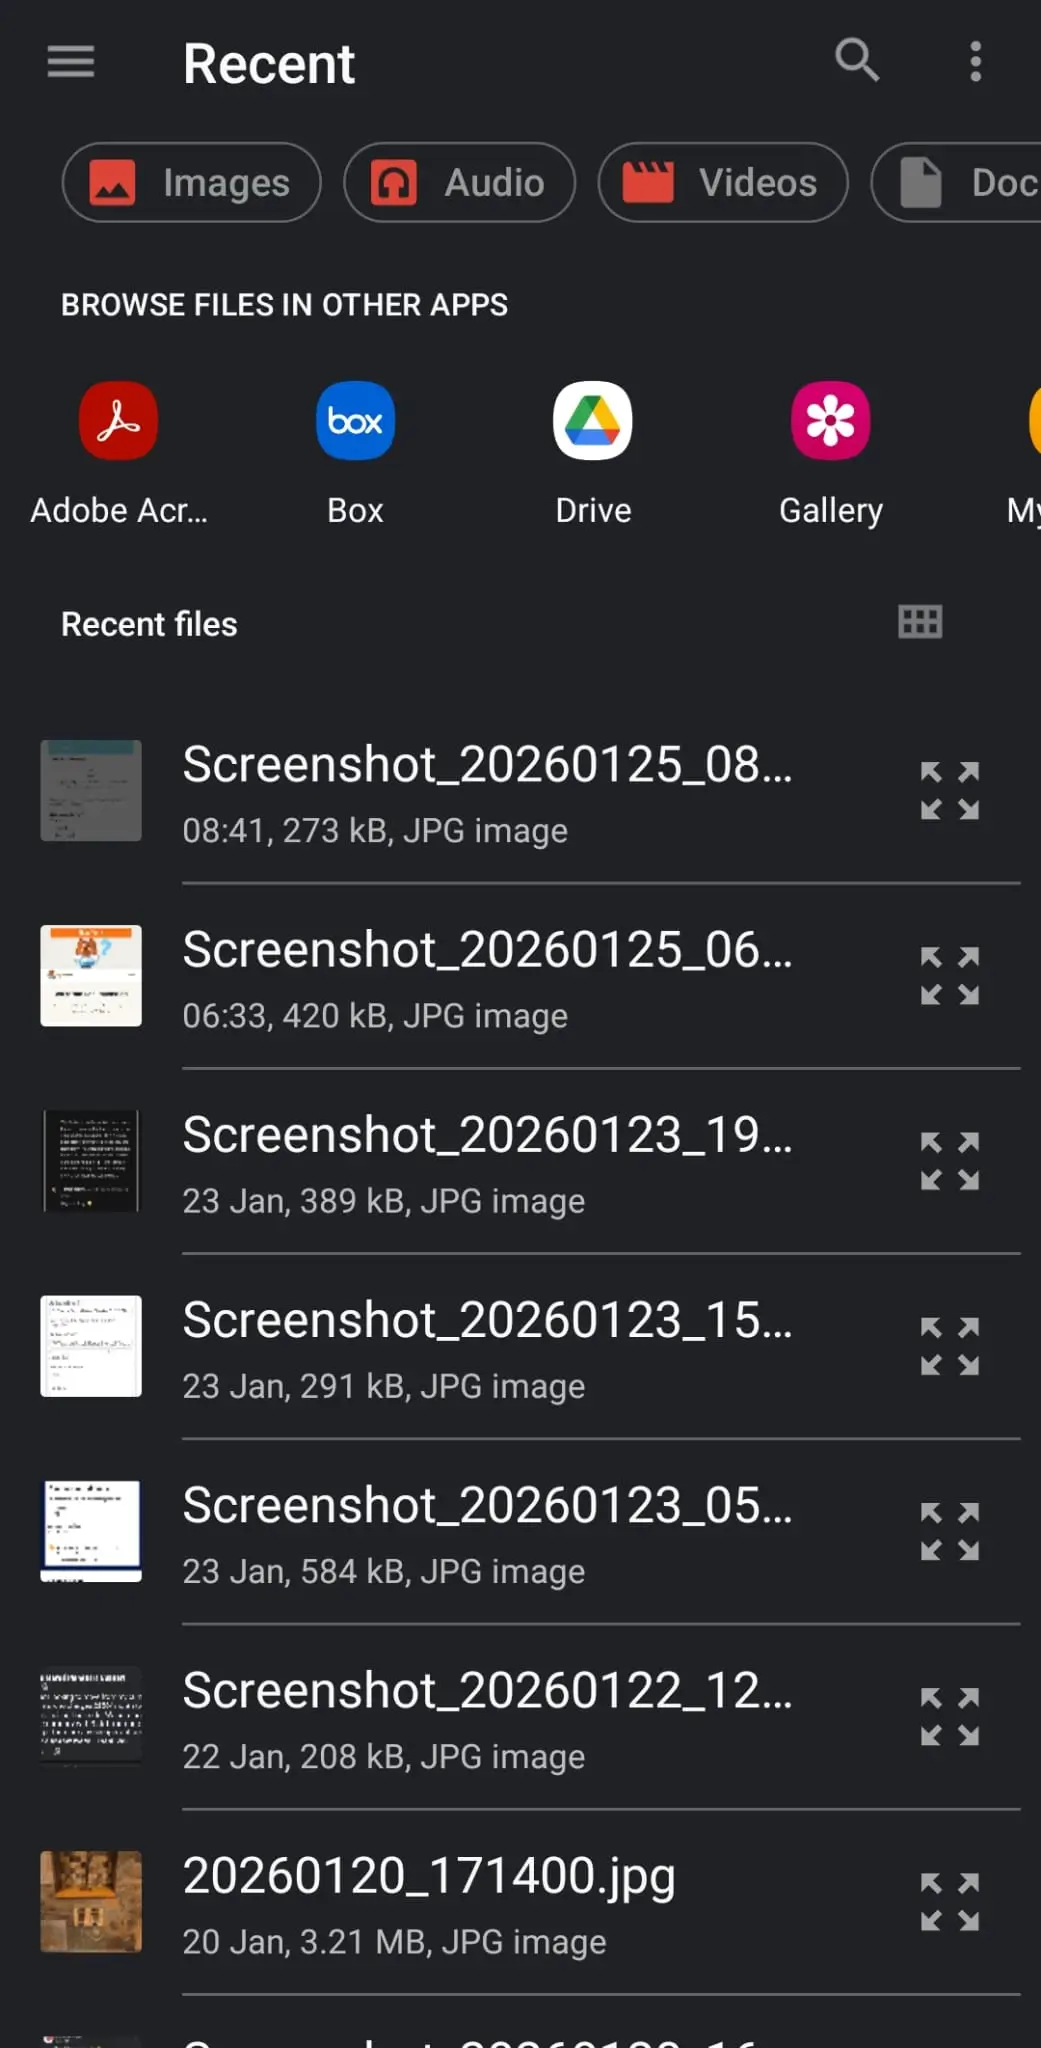
If you select Photos and videos (on Android), a file explorer screen will open. This allows you to browse through your device and locate the file or image you want to upload.
You can also take a photo of your document in advance, resize it if needed, and it will then be available to select from the file explorer when you come to upload it.
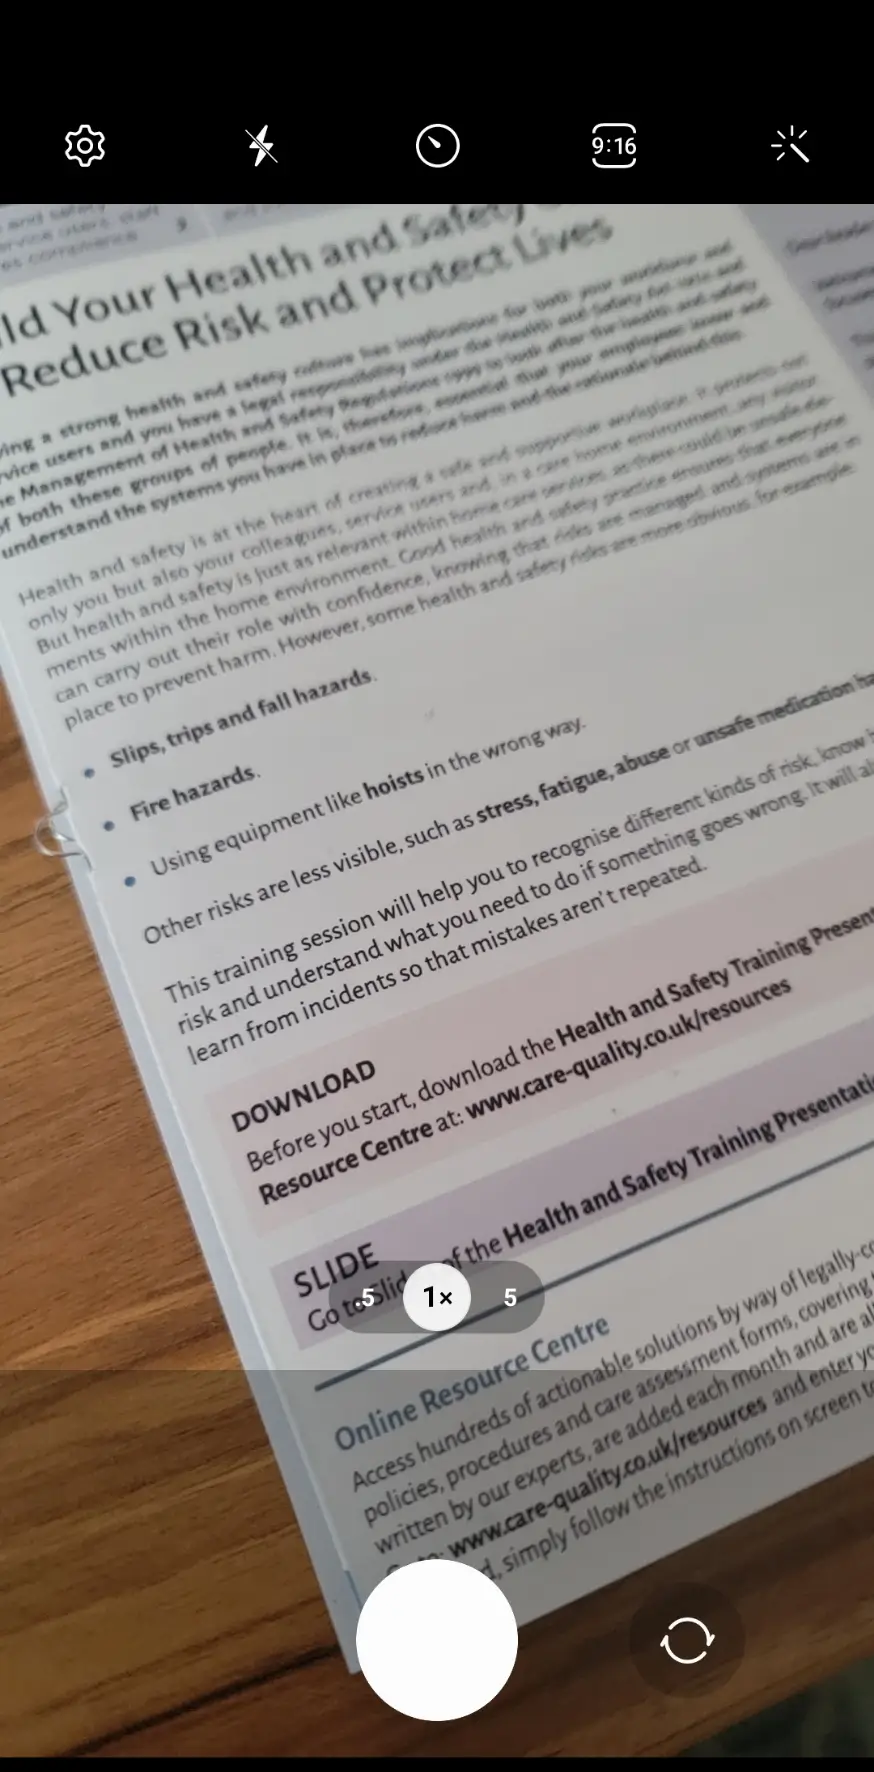
If you select Camera, your device’s camera app will open, allowing you to position and line up your document ready to take a photo.
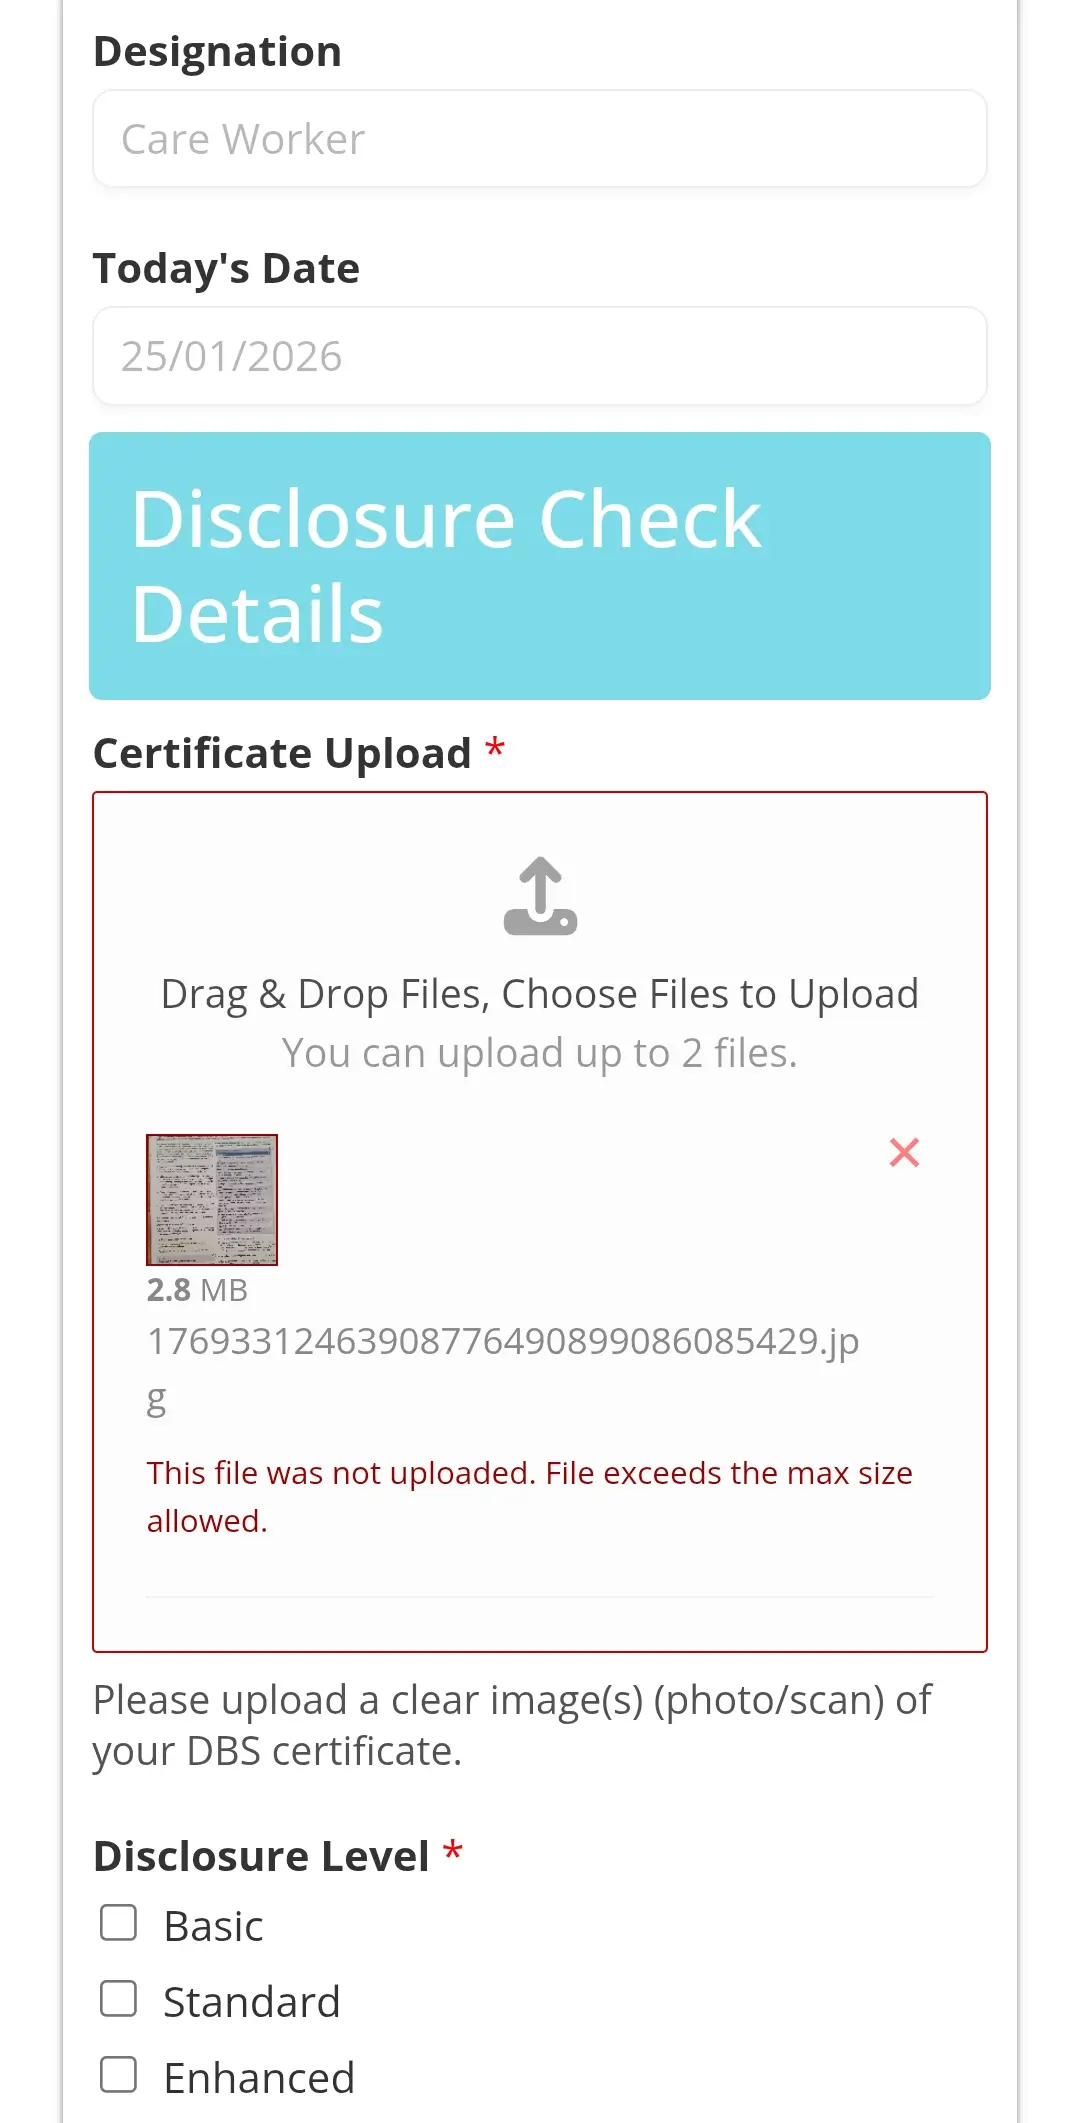
Because modern smartphones take high-resolution photos by default, there are limits on the size of images that can be uploaded. This is for two main reasons:
Large images take up unnecessary storage space on the server
Very large files may prevent your manager from receiving the document via email notification
Learning how to reduce image size can also help save storage space on your own device.
If an image is too large to upload, you’ll see an error message letting you know there’s a problem.
To resolve this, you’ll need to resize the image before uploading it. In this example, you can access the resizing guide by clicking the link shown below the file upload field.
If you continue to have issues with file upload size, please refer to the help guide on resizing images: